

ERP Data Migration: A Step-by-Step Guide to Moving Business Data Safely
ERP data migration is the process of moving your business records from an old system into a new ERP platform without losing accuracy, history, or day-to-day continuity. Done well, it gives your team a clean start with reliable numbers. Done poorly, it leads to duplicate customers, broken invoices, and weeks of firefighting. This guide walks you through each stage in plain language so your move is safe, predictable, and easy to verify.
Why ERP Data Migration Needs a Plan
Your ERP holds the information that keeps the business running: customers, vendors, stock, orders, finance, and payroll. Moving it is not a simple copy and paste. Formats differ between systems, old data carries errors, and teams are still working while the move happens. A clear plan protects you from surprises and keeps everyone aligned on what moves, when, and who signs off.
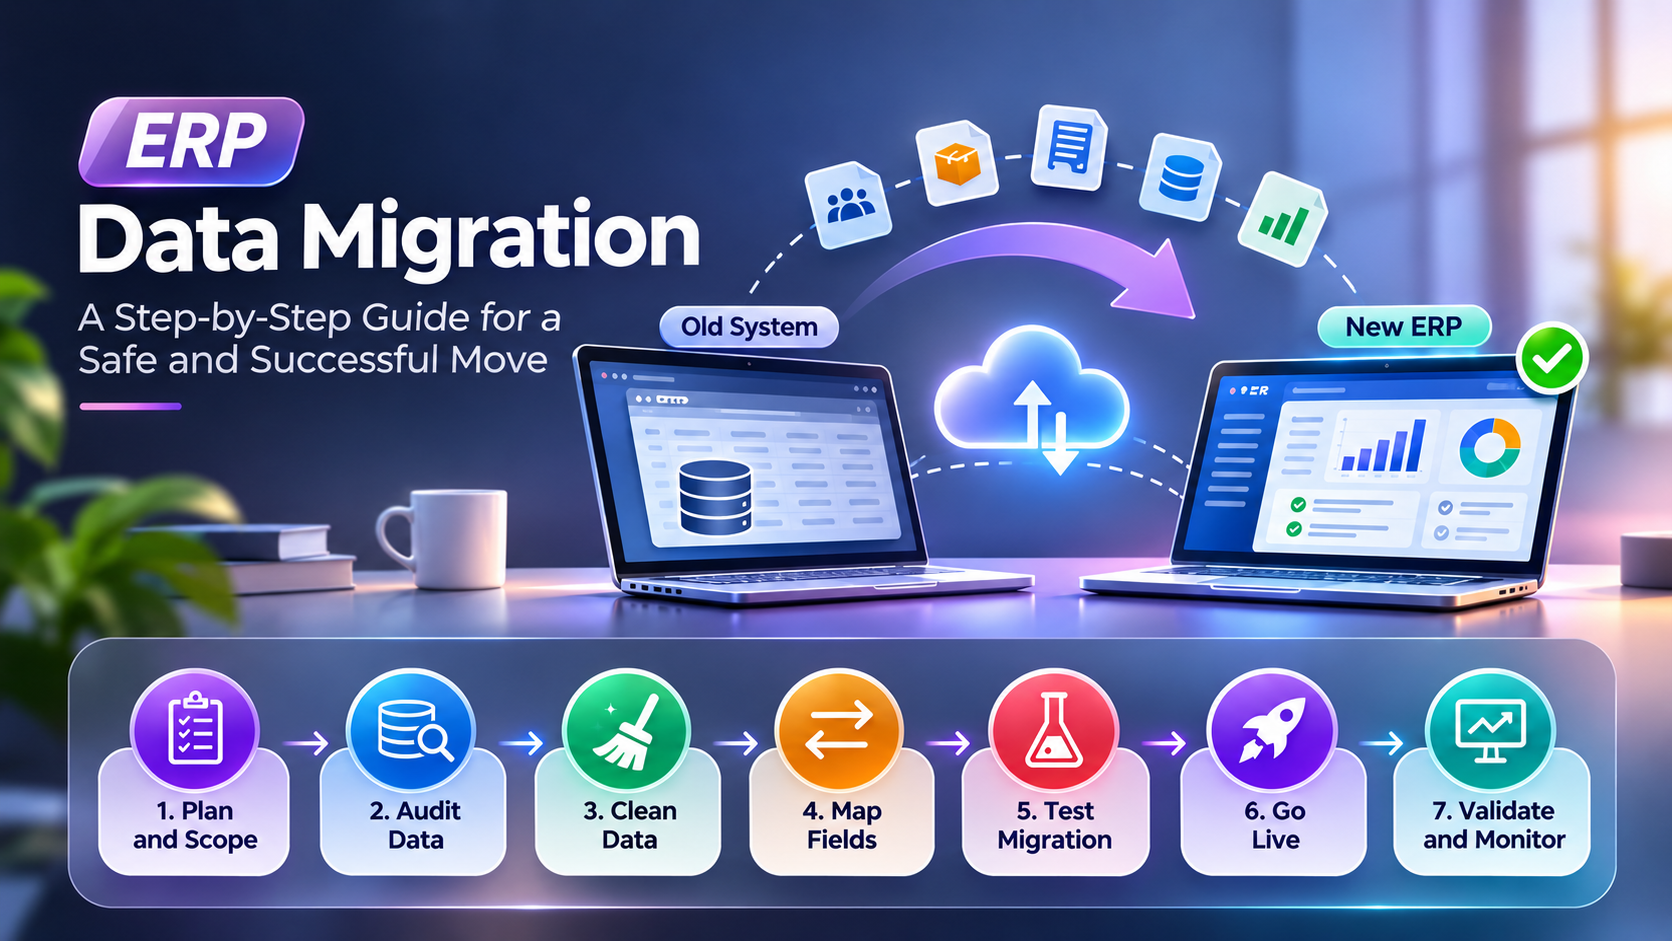
The Migration Journey at a Glance
Step 1: Define Scope and Goals
Decide which data must move and which can stay behind in an archive. Not every ten-year-old record deserves a place in your new system. Name an owner for each data area, set a timeline, and agree on what a successful migration looks like, such as zero missing open orders or matching ledger balances.
Step 2: Audit Your Existing Data
List every source: the legacy ERP, spreadsheets, CRM tools, and any side databases. Check volume, quality, and ownership. This audit shows you duplicates, empty fields, and inconsistent formats early, when they are still cheap to fix.
Step 3: Clean Before You Move
Moving dirty data only gives you dirty data in a shinier system. Remove duplicates, standardize addresses and units, fix missing tax or contact details, and retire inactive records. Have business users review the cleaned sets, because they know which entries are wrong.
Step 4: Map Fields and Transformation Rules
Match every field in the old system to its place in the new one. Document how values change, for example converting date formats, merging name fields, or translating old product codes. A written mapping sheet becomes your reference during testing and any later audit.
Step 5: Run Test Migrations
Never go straight to production. Run at least two trial migrations in a test environment, then compare record counts, financial totals, and sample transactions against the source. Fix every mismatch and repeat until results are consistent.
Step 6: Plan the Go-Live
Pick a low-activity window such as a weekend or period-end break. Freeze changes in the old system, take a full backup, run the final migration, and keep a rollback plan ready. Communicate the schedule to every team so no one enters data in the wrong place.
Step 7: Validate and Monitor After Launch
Once live, reconcile balances, open orders, inventory, and customer records right away. Watch for errors during the first few weeks, collect user feedback, and keep the old system read-only for a period as a safety net.
Common Mistakes to Avoid
- Skipping the data audit and discovering problems after launch
- Migrating everything, including obsolete records
- Leaving business users out of testing
- Having no backup or rollback plan
- Underestimating the time needed for cleansing and mapping
Final Thoughts
A safe ERP data migration comes down to preparation, clean data, repeated testing, and clear ownership. Treat it as a business project rather than a purely technical task, and your new system will start with data your team can trust from day one.